A View is a virtual table based on the result set of an SQL statement. It is primarily used for designing complex reports which are a bit difficult to achieve using the drag drop interface. The output structure of those SQLviews are saved as a separate table in the metadata which can then in-turn be used to create the reports using drag drop interface. These Views are stored on the backend database of Helical Insight.
NOTE: These views are not the DB views. They are just views at our metadata layer.
Following are the steps to create a View:
Step 1: Go to the ‘Views’ option in the metadata, enter the SQL statement, and click on ‘Execute.’ You can write the native SQL of the database that you are connecting to. This is a big advantage that Helical Insight offers as compared to other BI tools.
There are two types of views:
- Query
- Dynamic Query
1) Query: Query is a normal SQL as shown below.
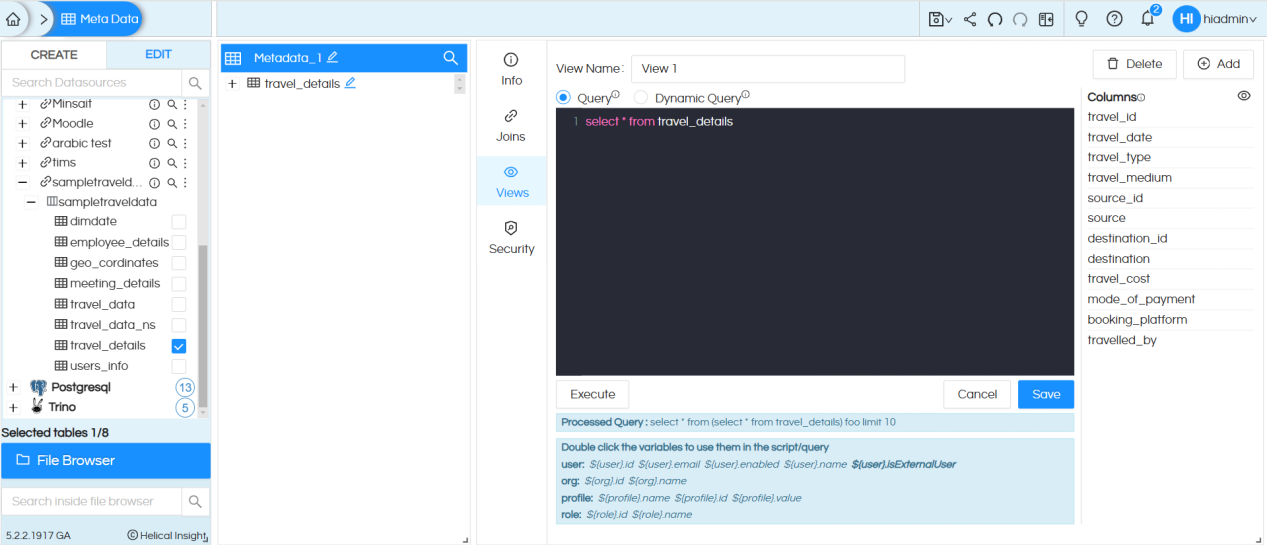
Any report which is created on top of normal Query View, in those cases entire SQL of views goes as sub-query. Hence usage of views should be restricted.
2) Dynamic Query: Dynamic query essentially means that the query is generated at runtime based on user inputs. It is possible to write the Groovy code and within that Groovy code we can, on a run-time, dynamically create SQL.
NOTE: It is also possible to pass the filter values directly in the SQL, hence dynamic views can give a better performance as compared to normal views. Normal views will first fetch entire data and then on top of that further querying and filtering will happen. Wherein with dynamic views, we directly pass filters value also into the SQL itself.
If you want to read more about dynamic queries, refer the following link https://www.helicalinsight.com/dynamic-query-view-in-metadata/
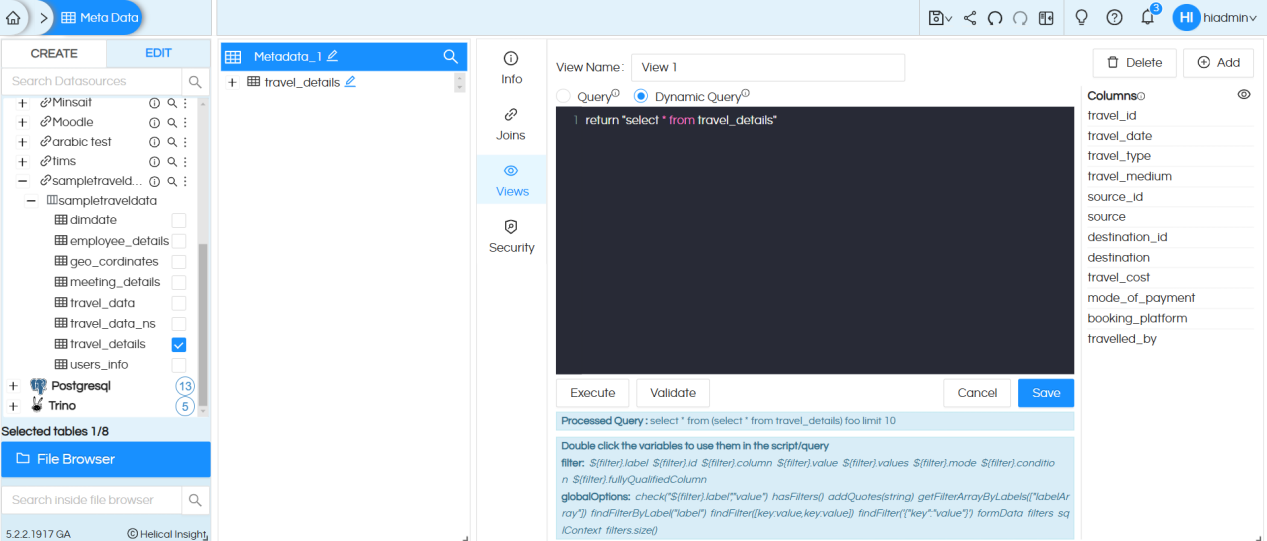
Execute: Once the SQL is written click on execute to run the SQL.
Validate: If we click it, it validates for syntax errors.
Preview: From version 5.2.1 a new functionality called Preview has been added. This allows you to preview the data (first 10 records) and thus validate if your SQL is returning correct responses or not.
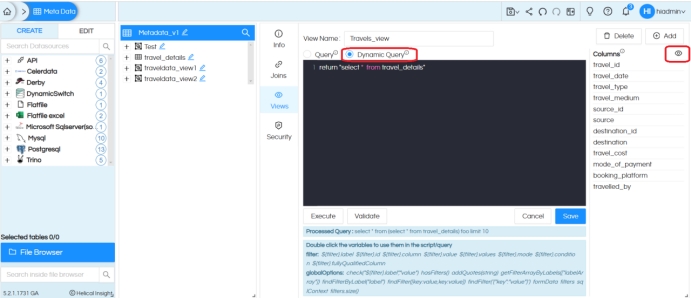
Click on the preview icon highlighted in the screenshot. It displays the first 10 records from the result set.
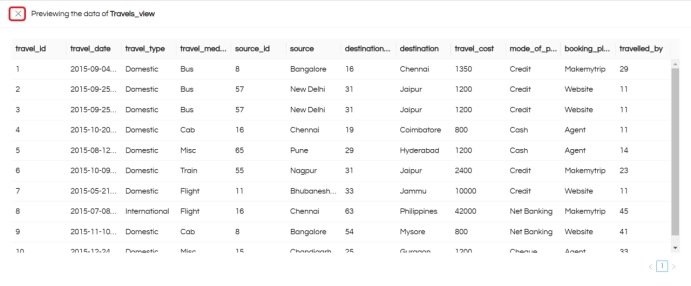
Note: You can close the preview mode using the cross icon in the top-left corner, as highlighted.
This feature helps validate the result set without creating a report.
Step 3: Save the Meta data.
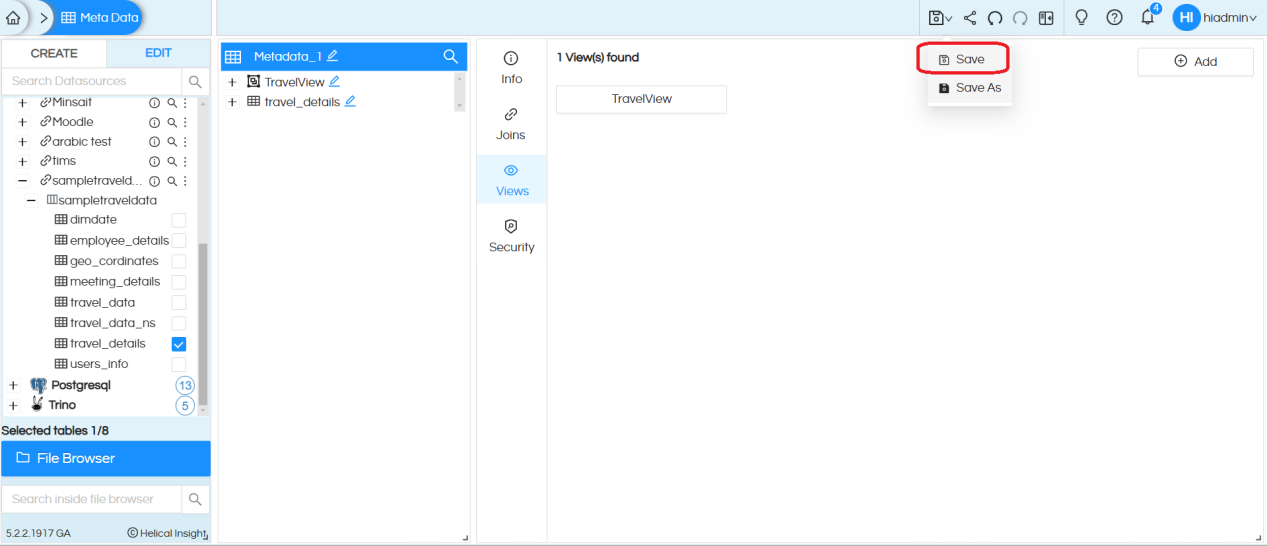
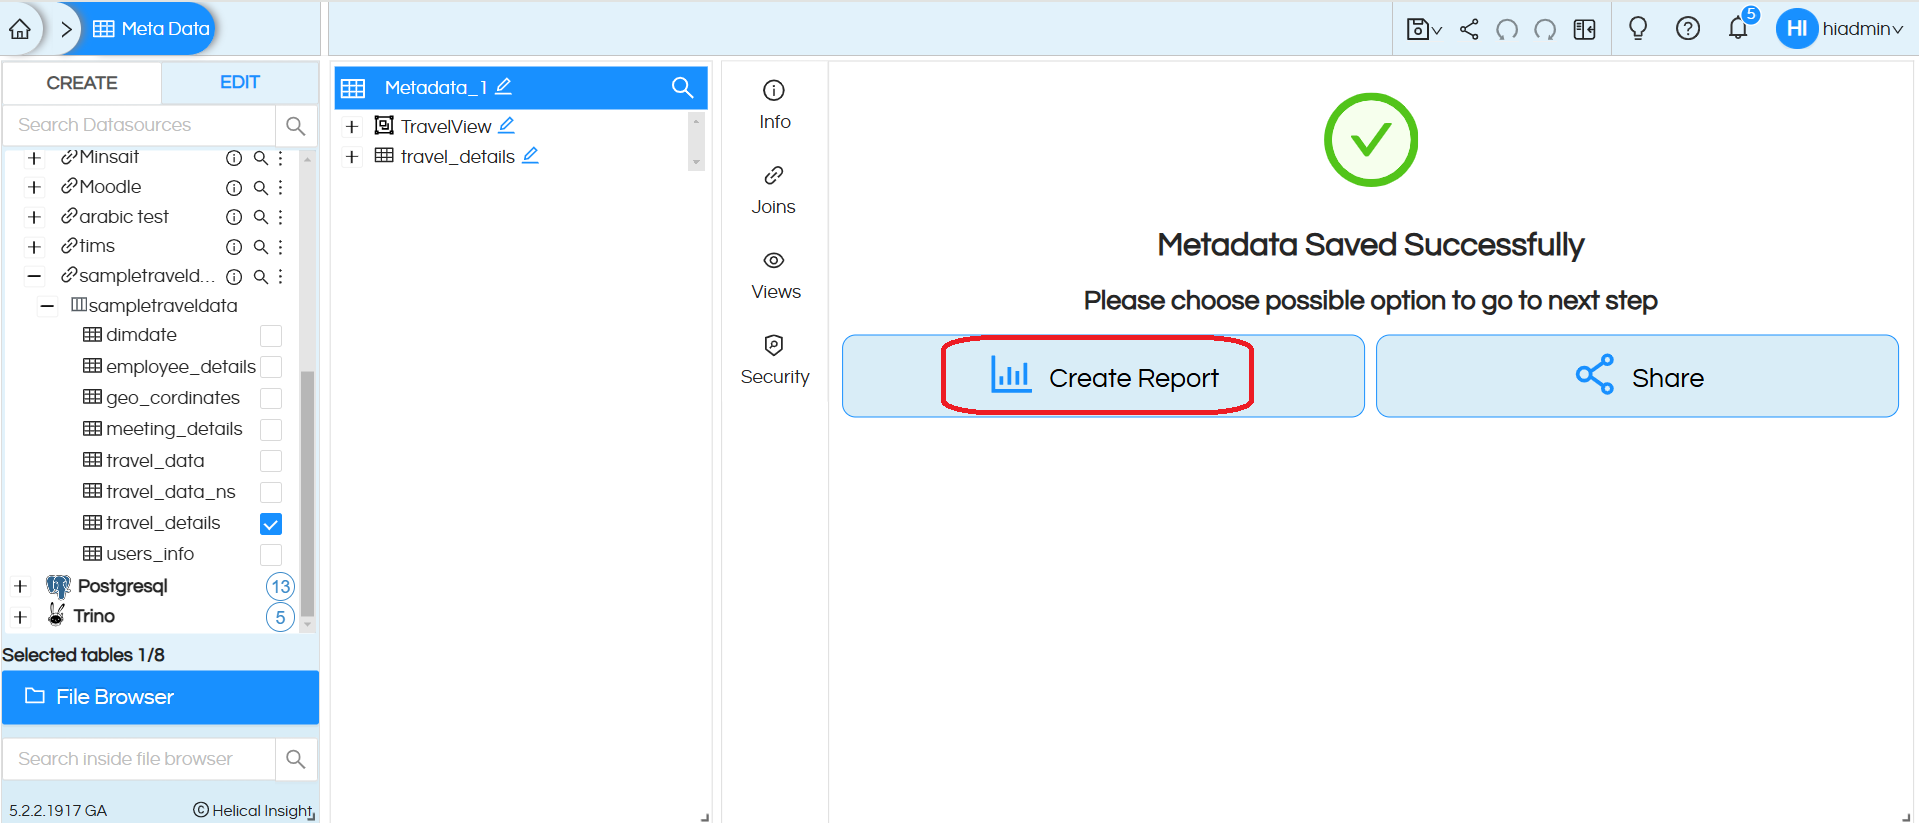
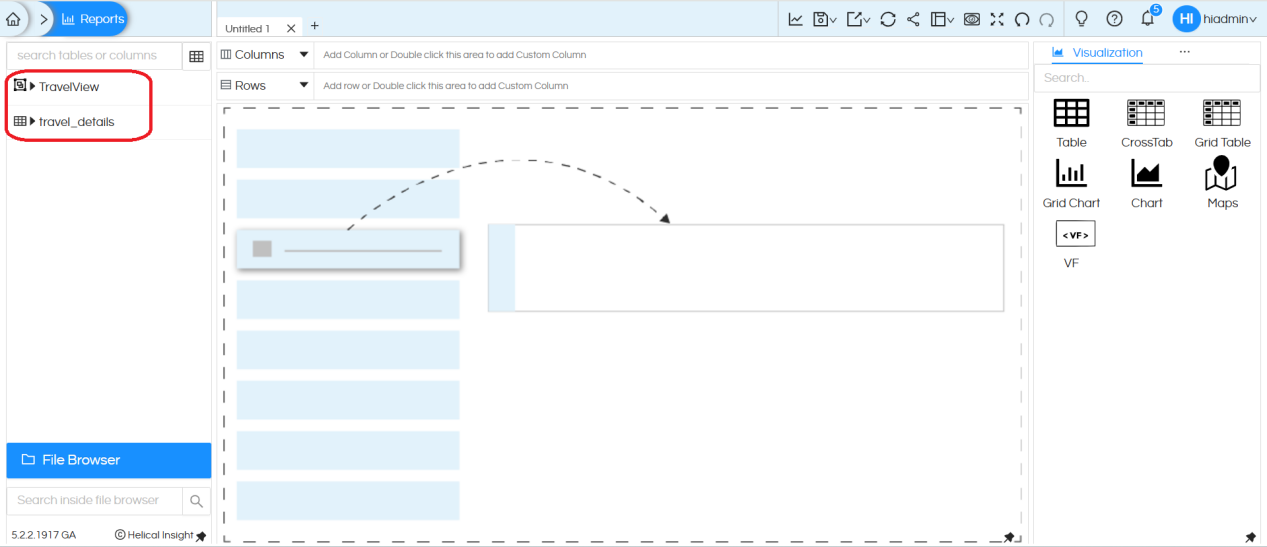
Once we save the metadata, it suggests ‘Create Report.’ If we choose ‘Create Report,’ it navigates to the reports module with the currently saved metadata selected.
Reports page with selected metadata. We can expand tables/views, and then create visuals by dragging the required columns
For More Info, Contact us at support@helicalinsight.com

