Many a times there arise a need to add up additional objects to dashboard, other than reports that we have built up. We may need to add additional text to label up the objects or put up a description or elaborate a report. Other times we may have to add up the organization logo or other images to the dashboard. This is a simple task with Helical Insight 5.0.
This blog will show how to add up Image and text to your dashboard.
1. Adding Image to Dashboard
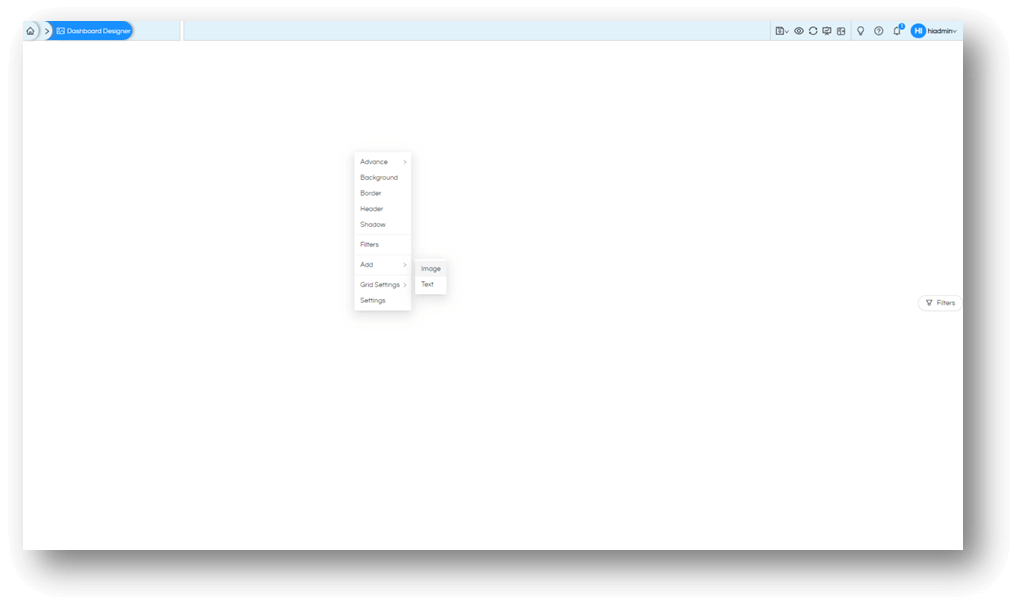
Step 1: Right-click on dashboard (blank area on dashboard where there is no other object). In the context menu, go to “Add” and click on “Image”. This will open panel with options related to image.
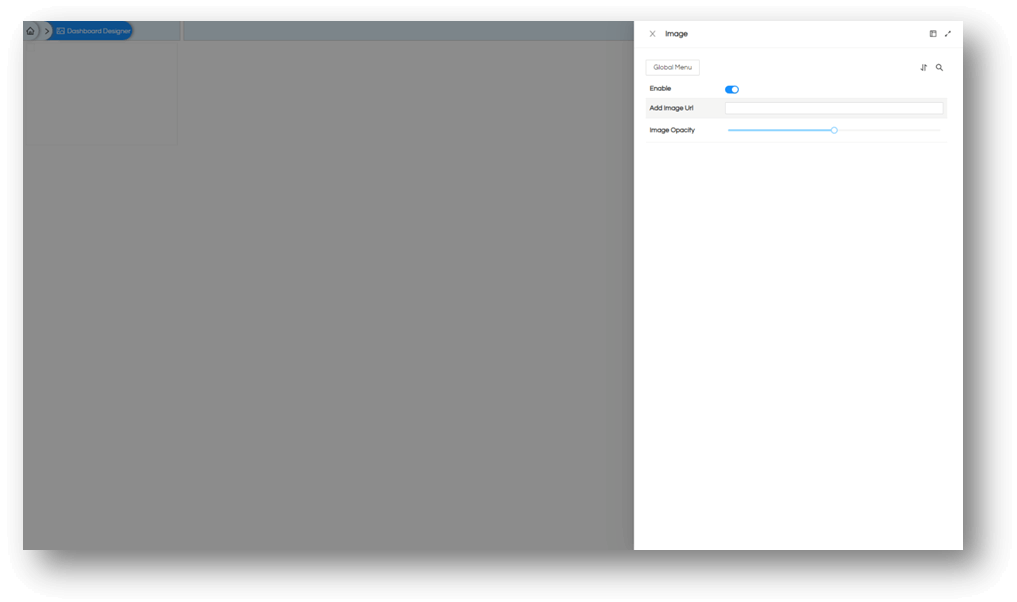
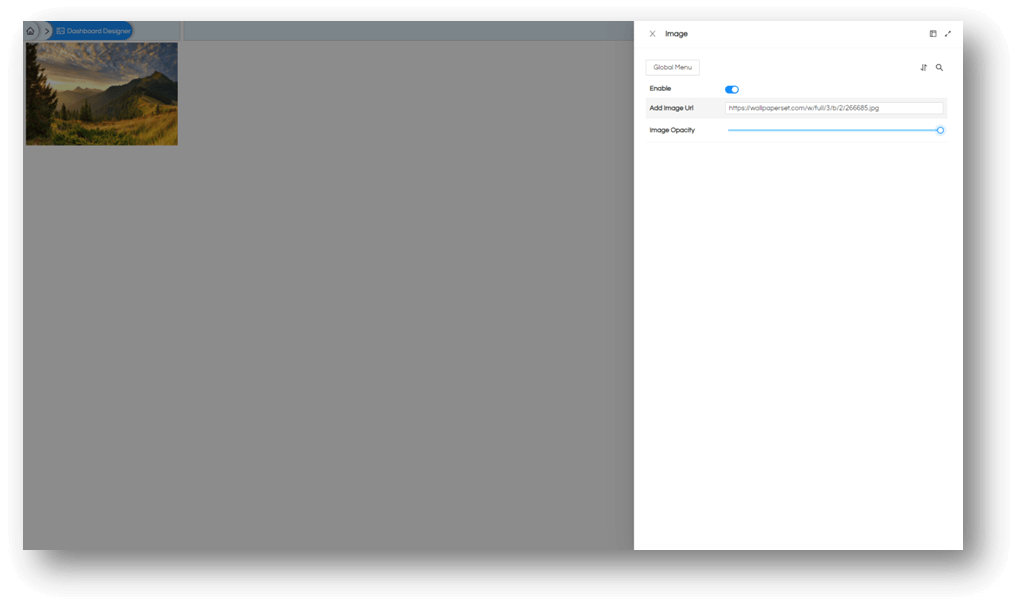
Step 2: In the options panel ensure that the options are enabled and add an image URL. This location can be a relative path to Helical Insight application like image that are kept within your system (then we can use syntax like getExternalResource? Followed by image path), or this could be an absolute path like a web URL of an image. If the image is accessible to this application, you will see it added to the dashboard as an object in itself.
With the slider option you can adjust the transparency of the image. Left being fully transparent, and right being fully opaque.
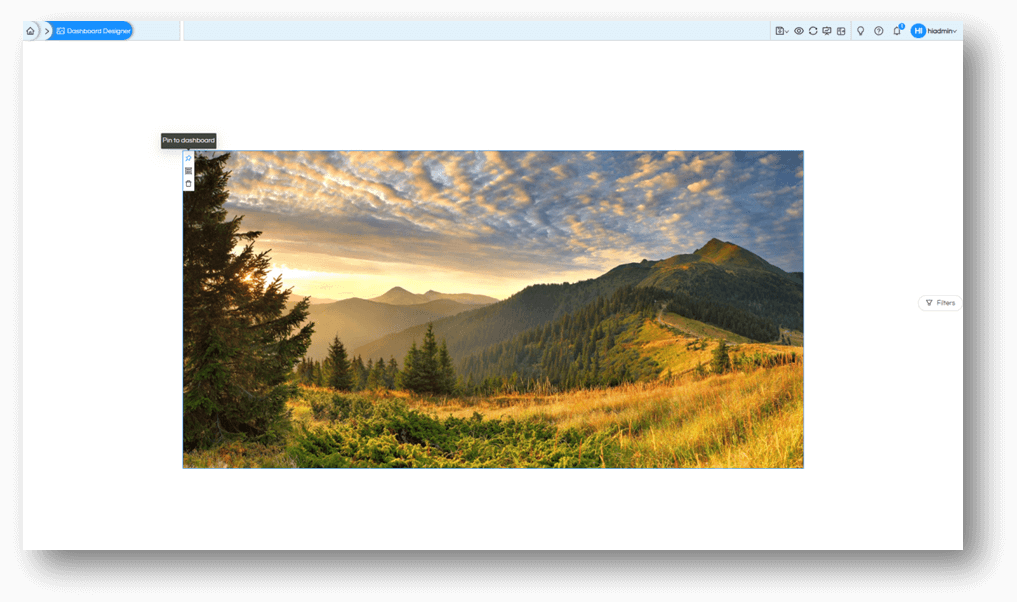
Step 3: Resize and re-position. Once your image is added to dashboard, resize, reposition, group it or pin it just like any other object on the dashboard.
2. Adding Text to Dashboard
Step 1: Right-click on dashboard (blank area on dashboard where there is no other object). In the context menu, go to “Add” and click on “Text”. This will open panel with text editor and other options.
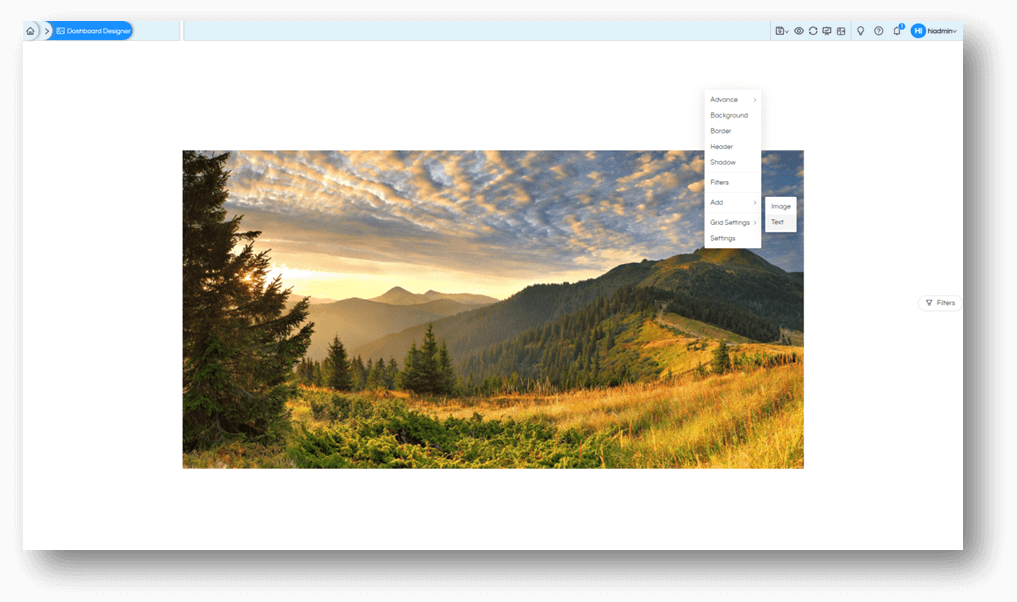
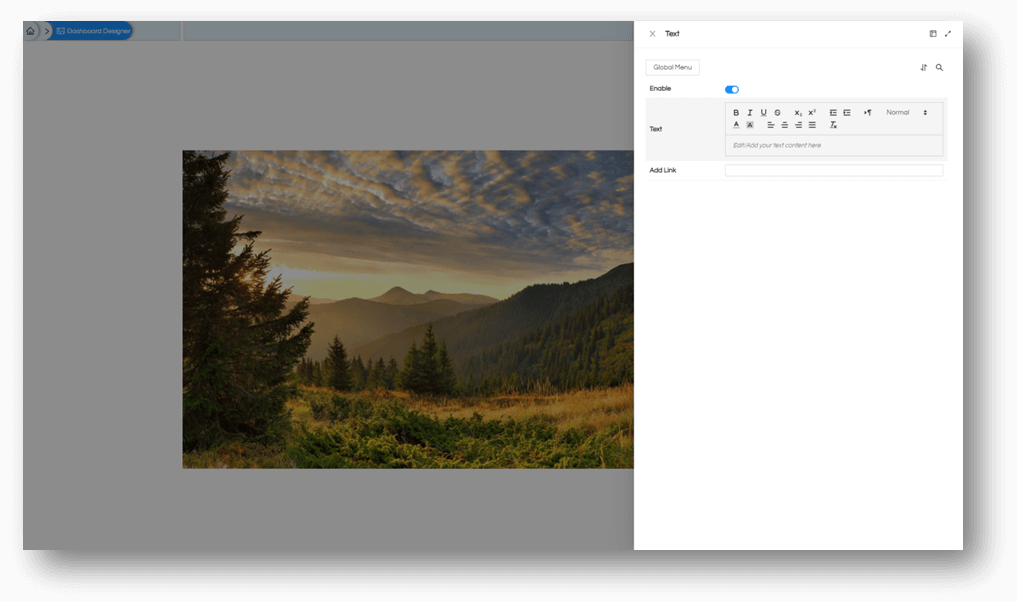
Step 2: In the panel ensure that the options are enabled and add the text you wish to write on dashboard, this is a multi-line text editor. You can format the whole text or part of it; the following options are available for text formatting
- Bold: this makes the text appear as Bold (strong). This can be applied to the selected text.
- Italics: this makes the text in italics (emphasize). This can be applied to the selected text.
- Underline: this makes the text underlined. This can be applied to the selected text.
- Strikethrough: this option lets you strike out the text by placing line in the middle of the character. This can be applied to selected text.
- Subscript: this is used to make text as if it is a subscript. This can be applied to the selected text.
- Superscript: this is used to make the text as if it is a superscript. This can be applied to the selected text.
- Indentation: decrease or increase indentation of the text. This can be applied to the line of text.
- Text Orientation: this can help you write text that follow right to left writing pattern. This is applied to the line of text.
- Text Size: this can be used to make the text appear as if it is heading in HTML page, from H1 to H6. This is applied to the line of text.
- Text Color: this will let you give a color to your text. This can be applied to the selected text.
- Text Highlight Color: this will let you add highlight color to the text. This can be applied to the selected text.
- Text Align: this helps you to align the text as Left, Centre, Right, Justified. This is applied to the line of text.
- Delete Formatting: this allows you to remove any text formatting you might have applied. All text will return to normal text without any of the above formatting.
You can also make this text object as a hyperlink by adding a URL to the object.
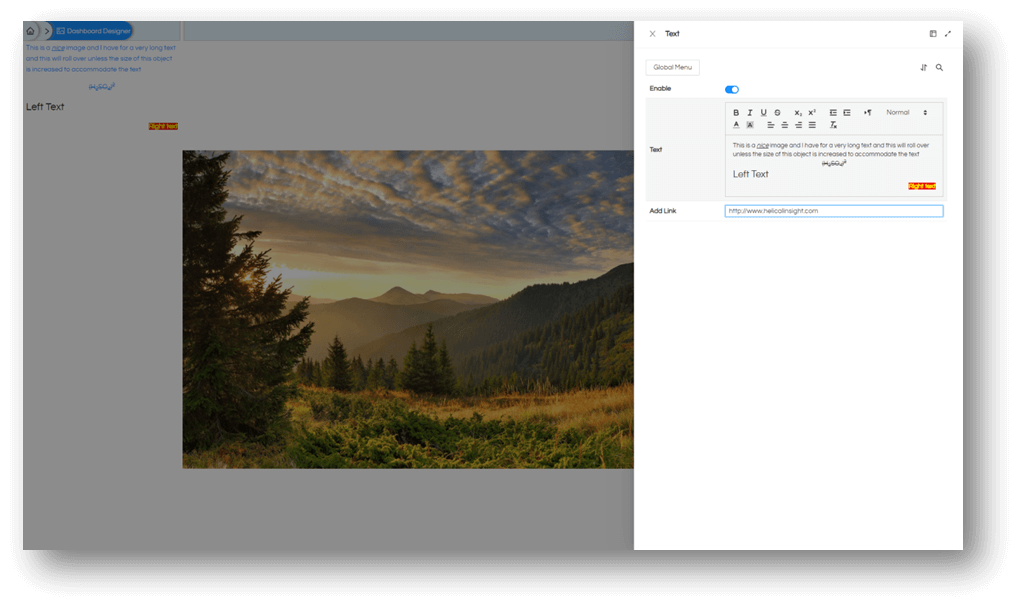
Step 3: Resize and re-position. Once your text object is added to dashboard, resize, reposition, group it or pin it just like any other object on the dashboard.
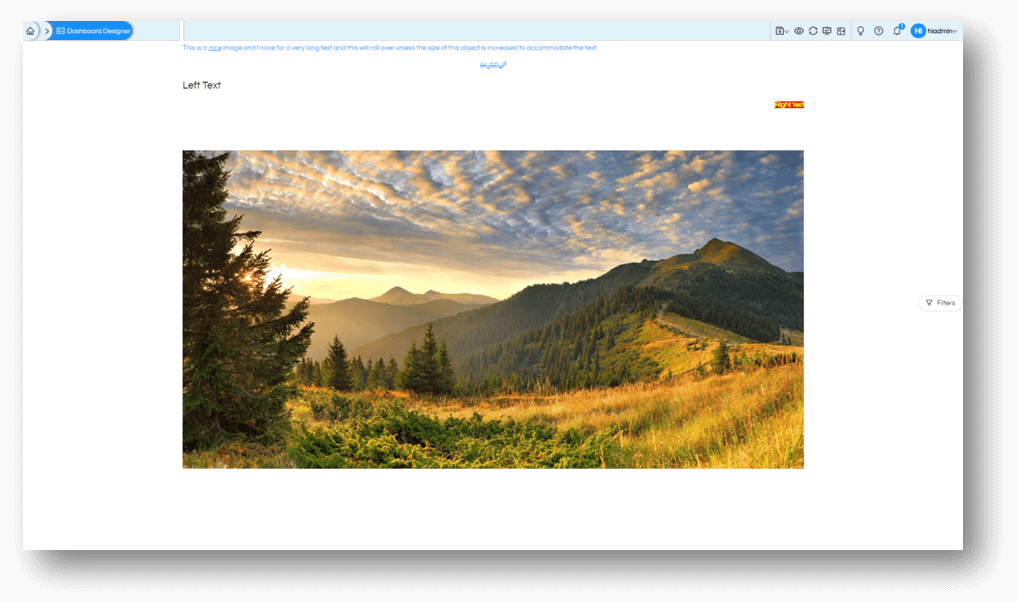
If you added any hyperlink, clicking on this object should take you to the mentioned location.
Thank You,
Helical Insight
