In this blog, you will see how you can connect Snowflake to open source BI product Helical Insight.
To connect to Snowflake, follow the steps given below:
Step 1: Download this zip file and extract the contents.
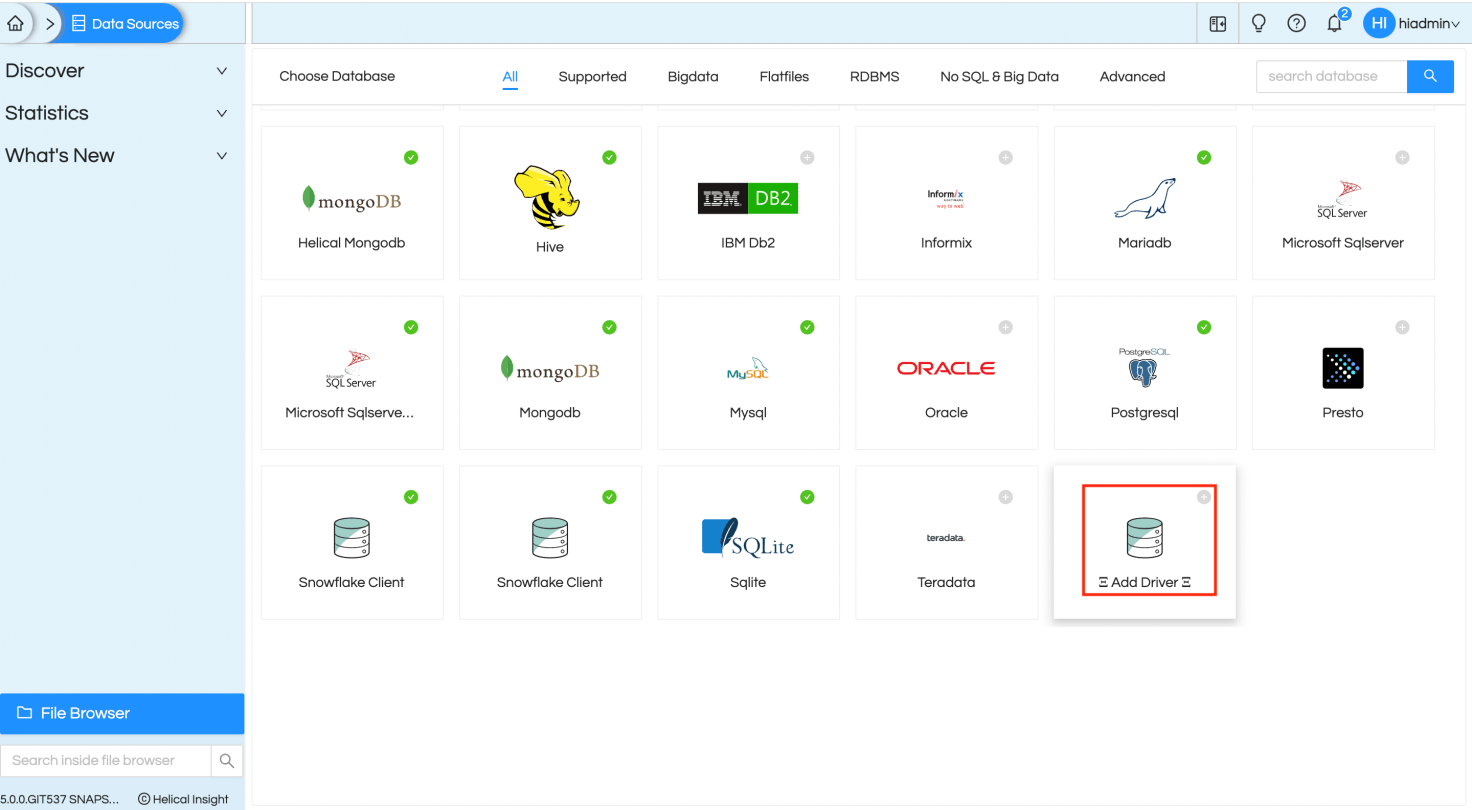
Step 2: Now connect to Helical Insight server and go to DataSources page and click on “Add Driver” button(highlighted by red square).
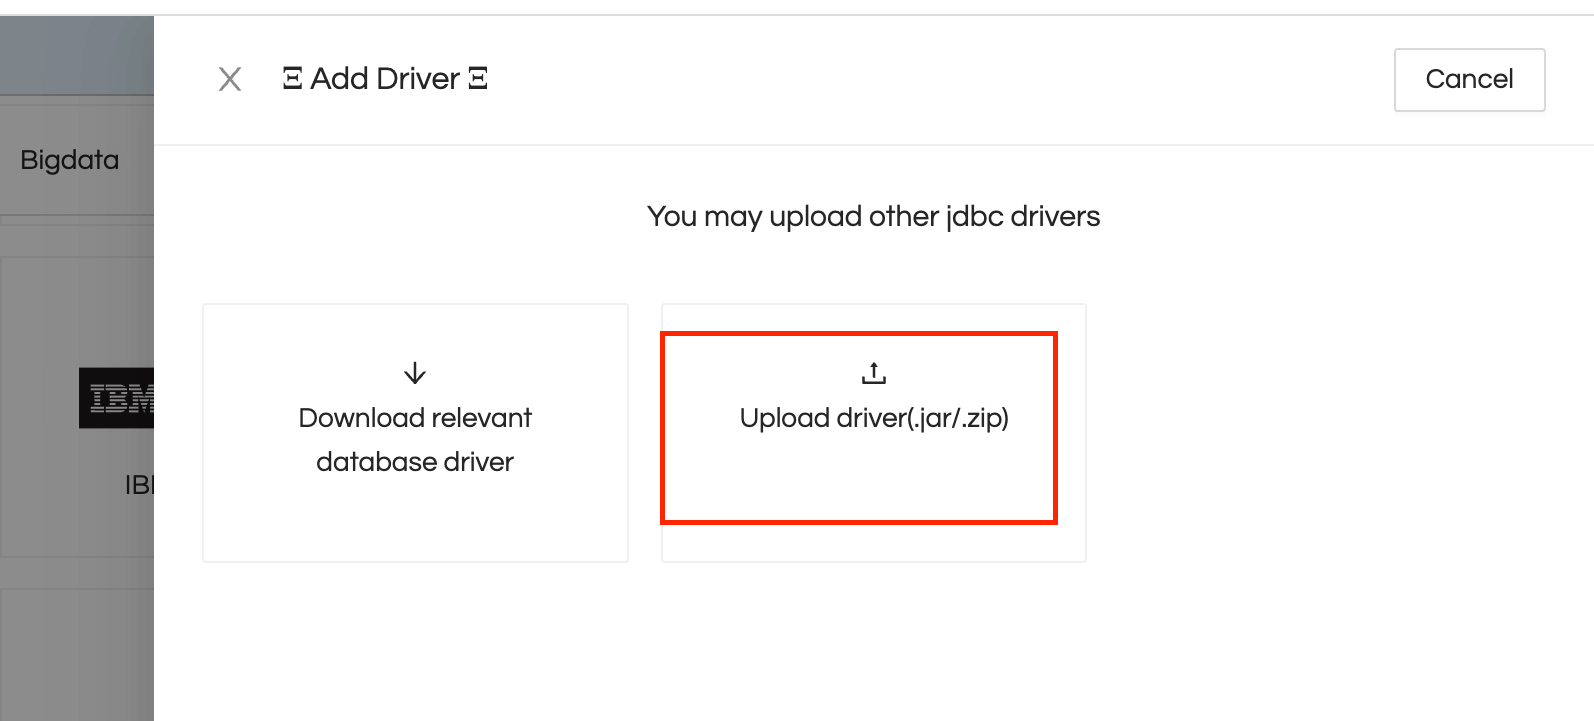
Step 3: Upload the file named “snowflake-jdbc-3.9.2.jar” from the downloaded zip folder. If there is a newer version of that driver, that also you can perhaps upload as shown below.
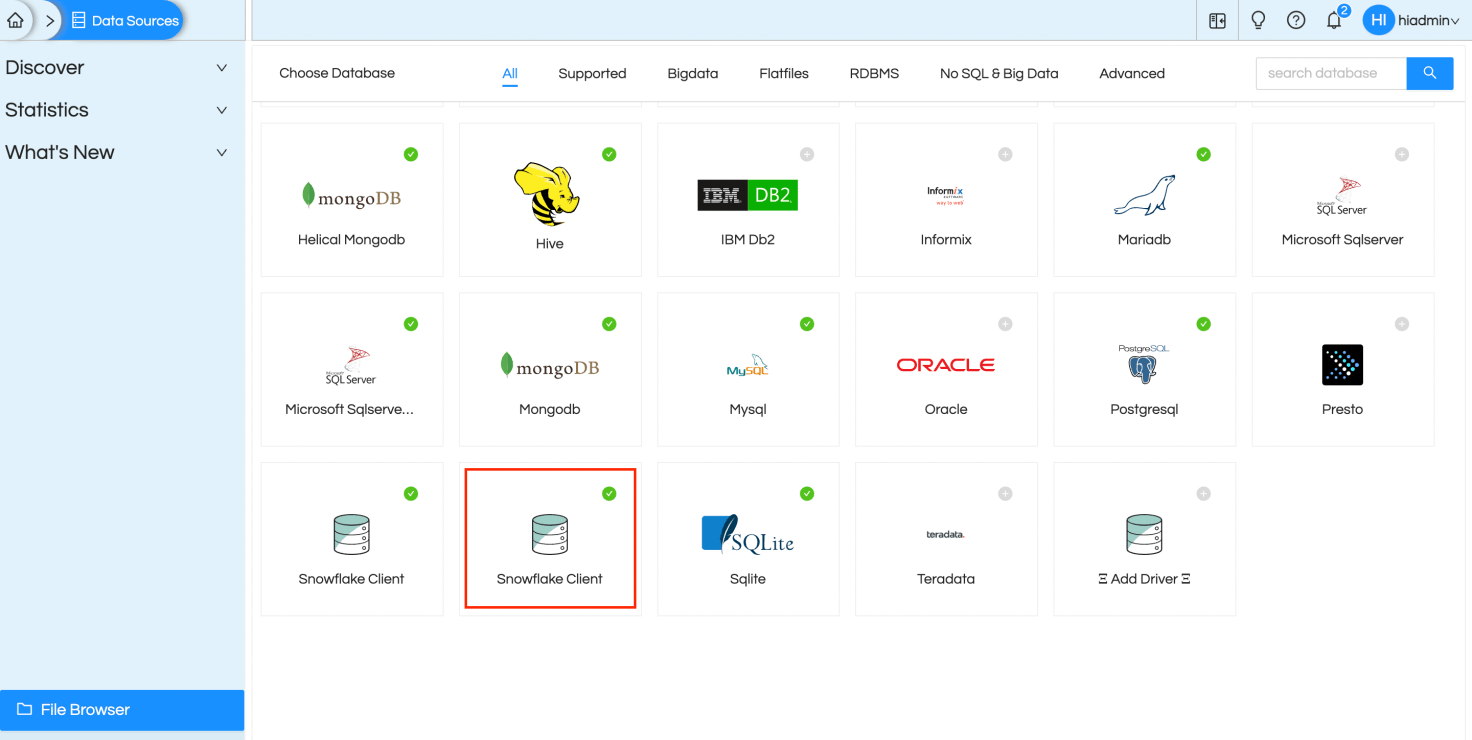
The JDBC driver for Snowflake has been added (as highlighted below).
Step 4: Add files “snowflake.xml” and “snowflake.js” from the downloaded zip folder at the location “../hi/hi-repository/System/Admin/SqlFunctions”.
Step 5: Replace the files “sqlDialects.properties” and “sqlFunctionsXmlMapping.properties” present at the location “…hi/hi-repository/System/Admin” with the files present in the downloaded zip folder.
Step 6: Restart Helical Insight tomcat service.
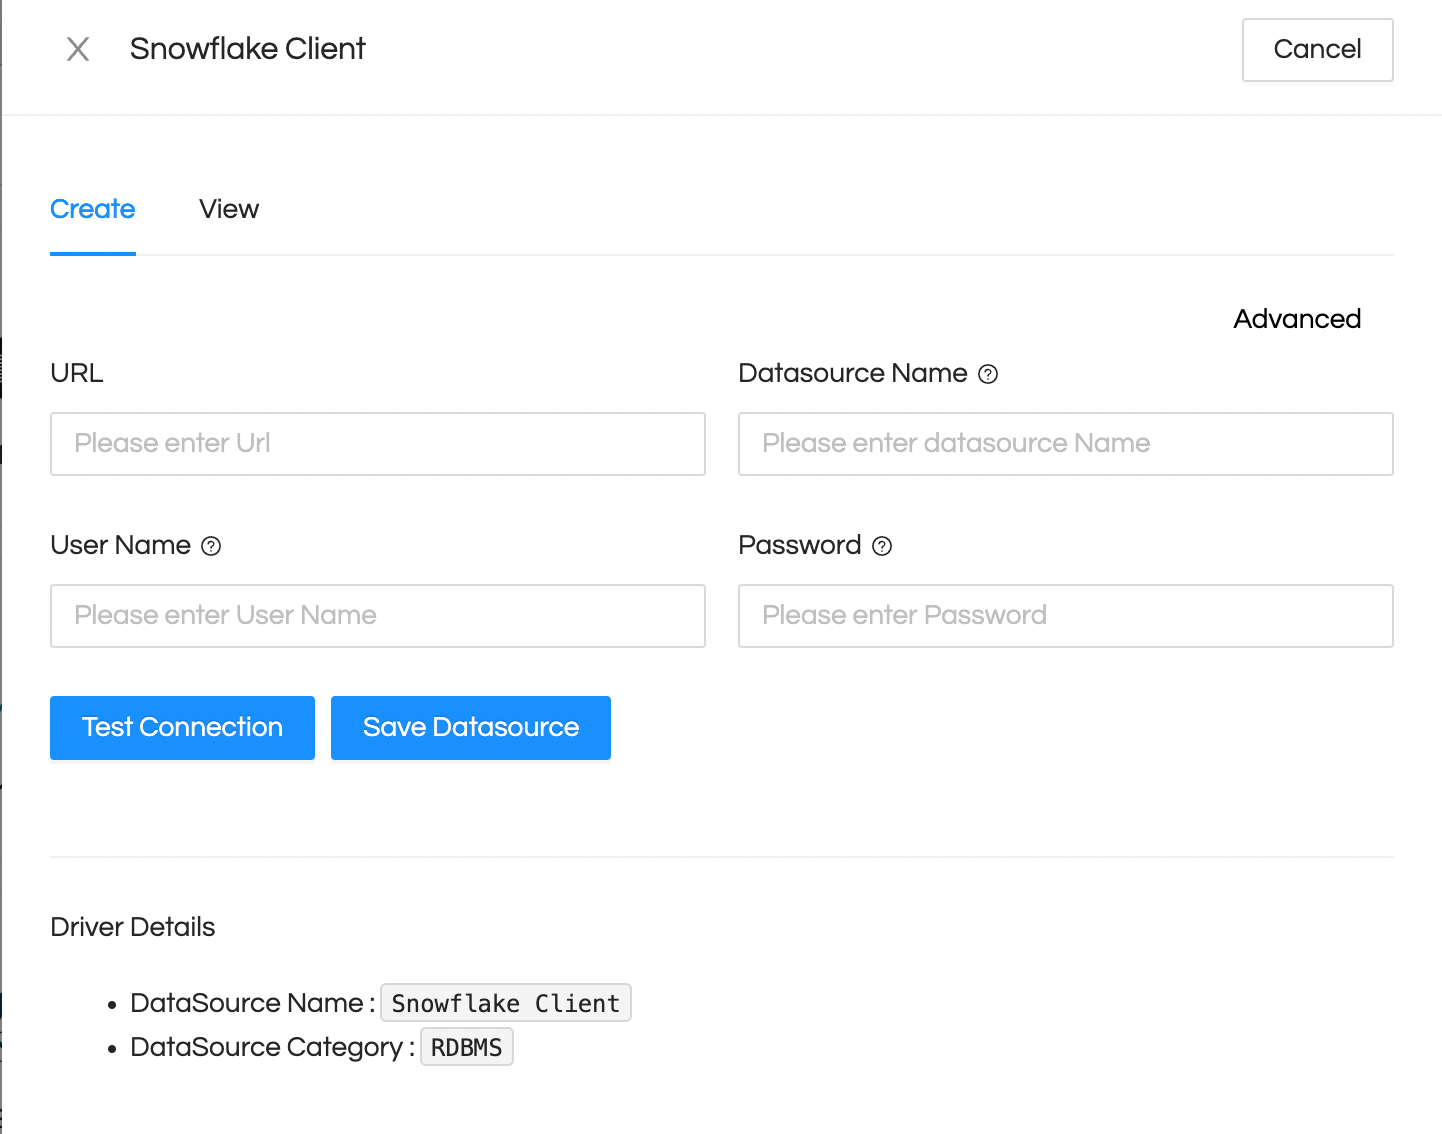
Step 7: After restart, go to “DataSources” page and provide connection details for Snowflake Test Connection and Save the datasource.
Helical Insight is now connected to Snowflake databsource and metadata and reports can be created using the connection established.