In this article, you will learn about how to “Edit Metadata”. Enter the URL wherein Helical Insight is installed using any browser, a login id page will appear. Enter the required credentials.
To edit the metadata we have two methods:
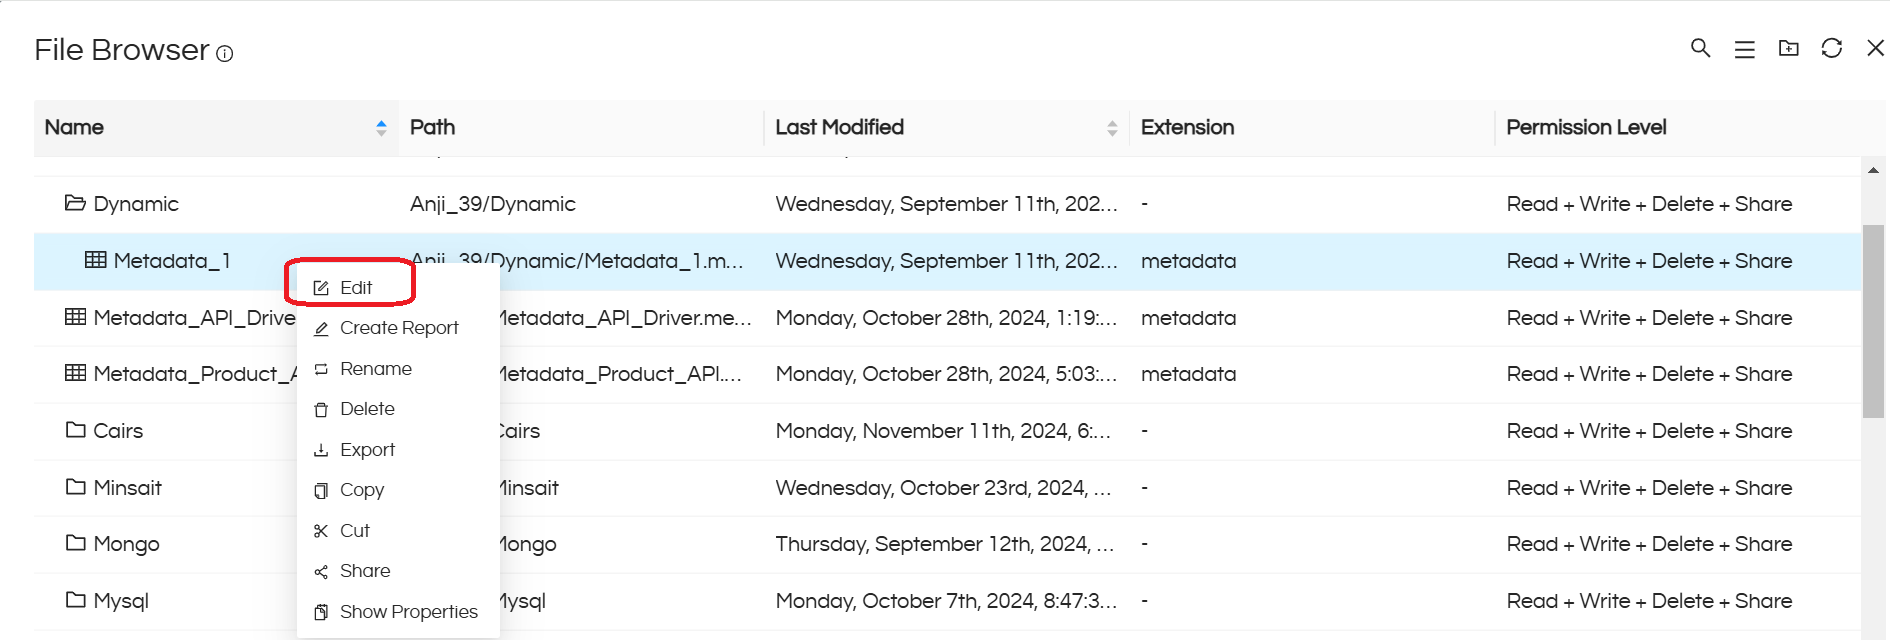
Method 1: Directly from the file browser we have to navigate to the folder wherever we have saved the metadata, by right-clicking, we will get an option called “Edit Metadata” click on that and edit the metadata.

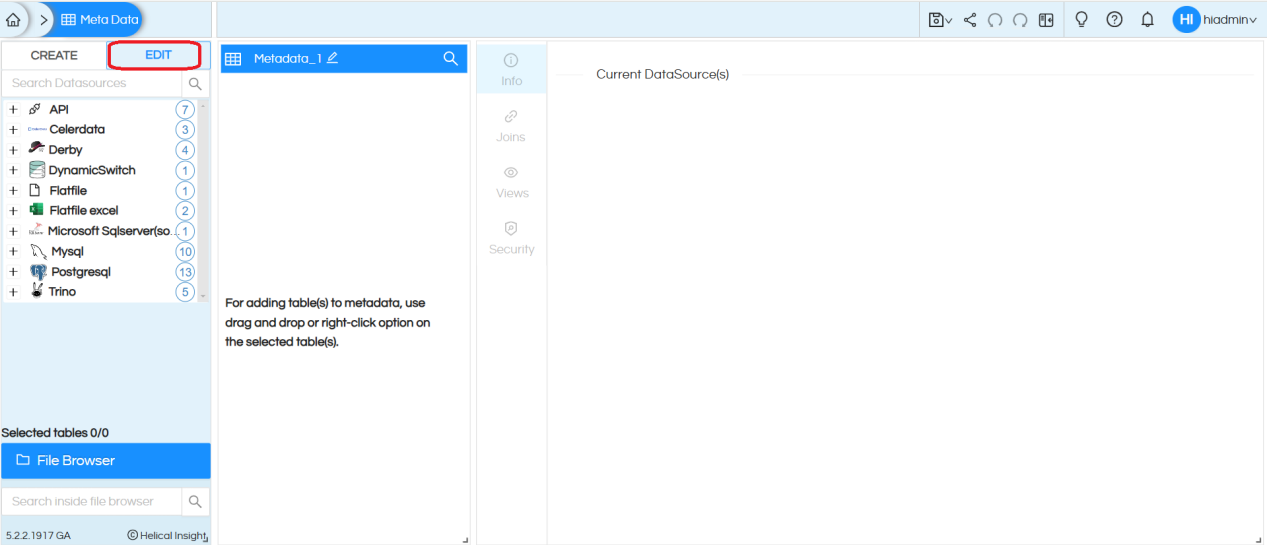
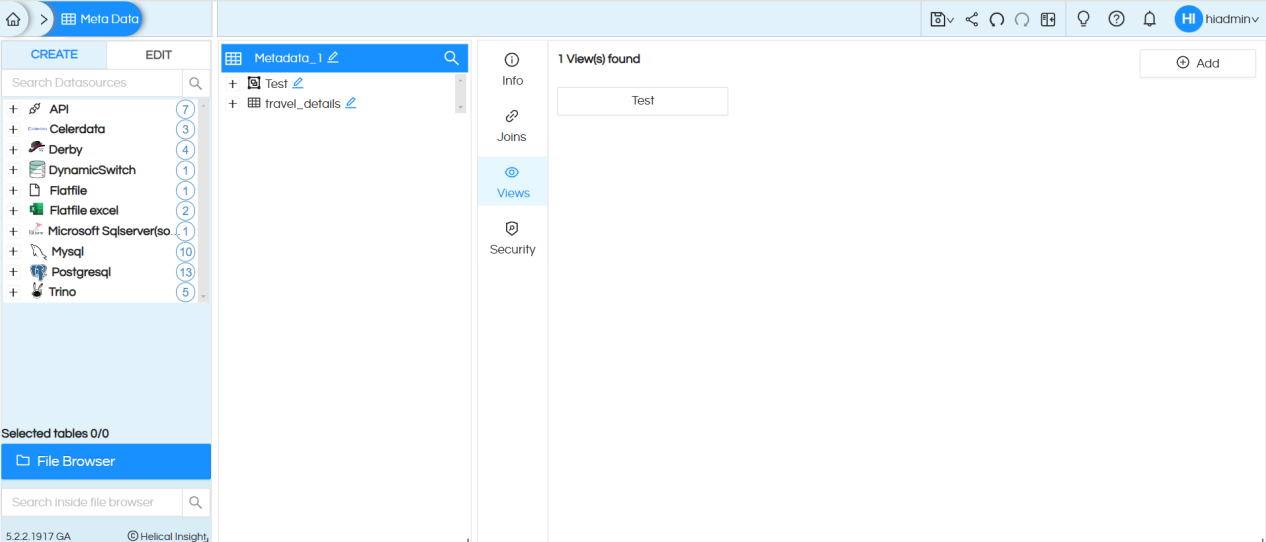
Method 2: From the top ribbon you can directly click on the “Metadata” tab that will redirect us to the metadata page. Once on the metadata-create page click on “Edit” which will open the file browser and from there we have to navigate to the folder where we have saved the metadata either double-click on the metadata or we can right click and edit the metadata.
Changing the Data Source
Step 1: In order to change the data source that the metadata is pointing to, click on Change Data Source in the Info section. You will be asked to select the data source.
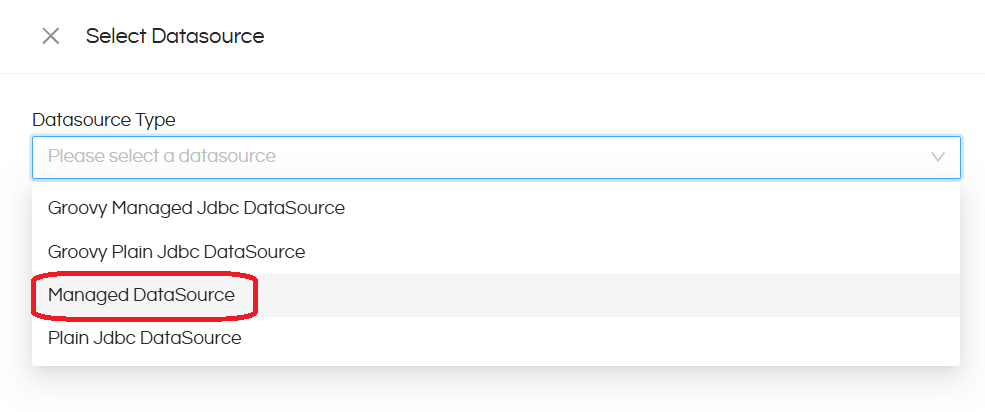
Step 2:Select the type of connection.
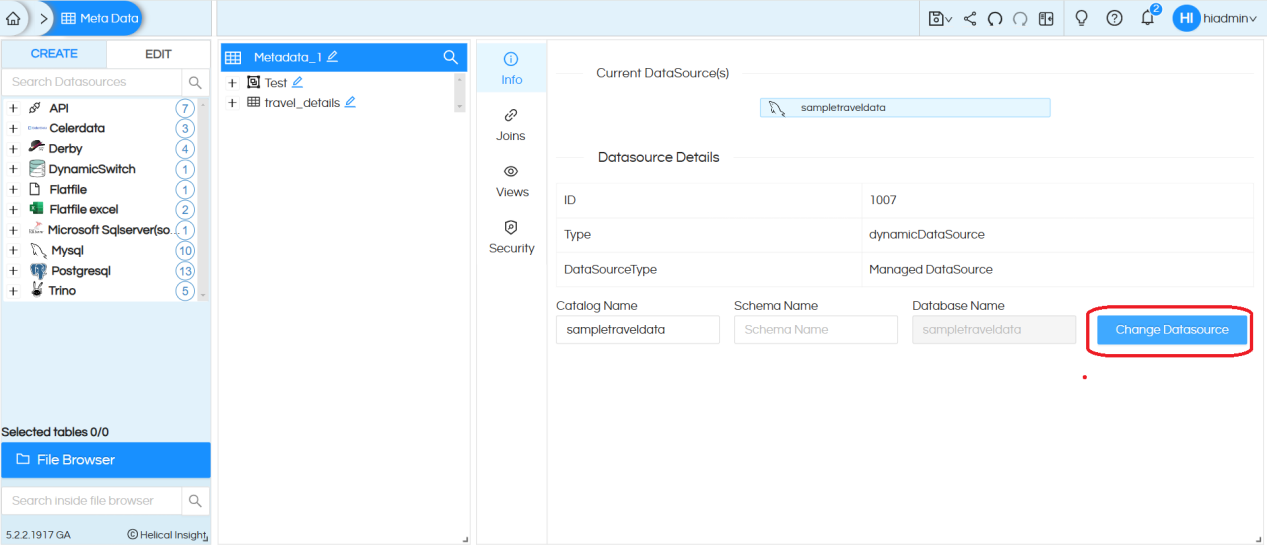
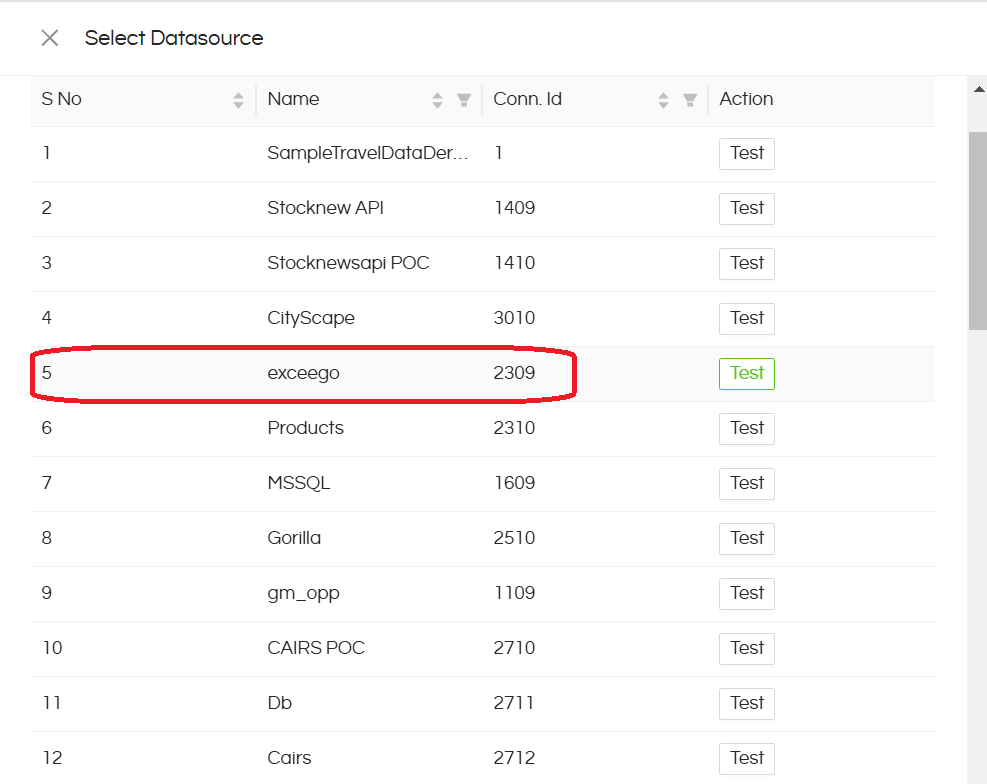
Step 3:Select the data source from the connection list.
You can also type the schema and catalog names by entering the relevant names in the boxes provided.
Adding Tables to Metadata
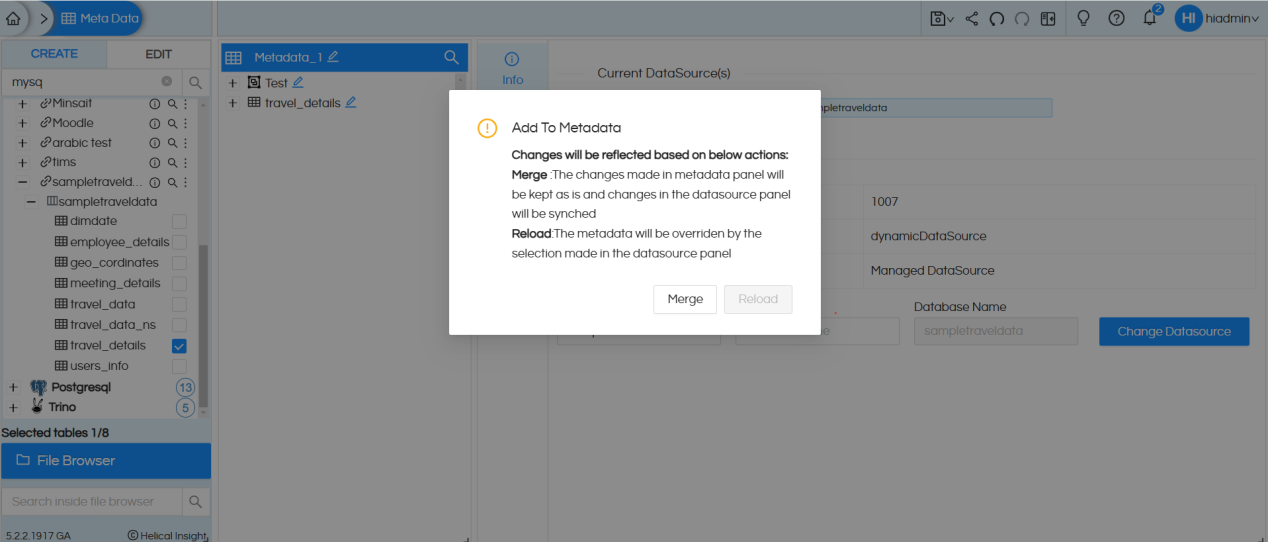
Select the tables that you want to add to metadata. Then right click and select Add to Metadata.
Select whether you want to Merge or Reload.
Merge will append the new tables to the list of existing tables in the Metadata.
Reload will delete the original tables and load the tables that have been selected.
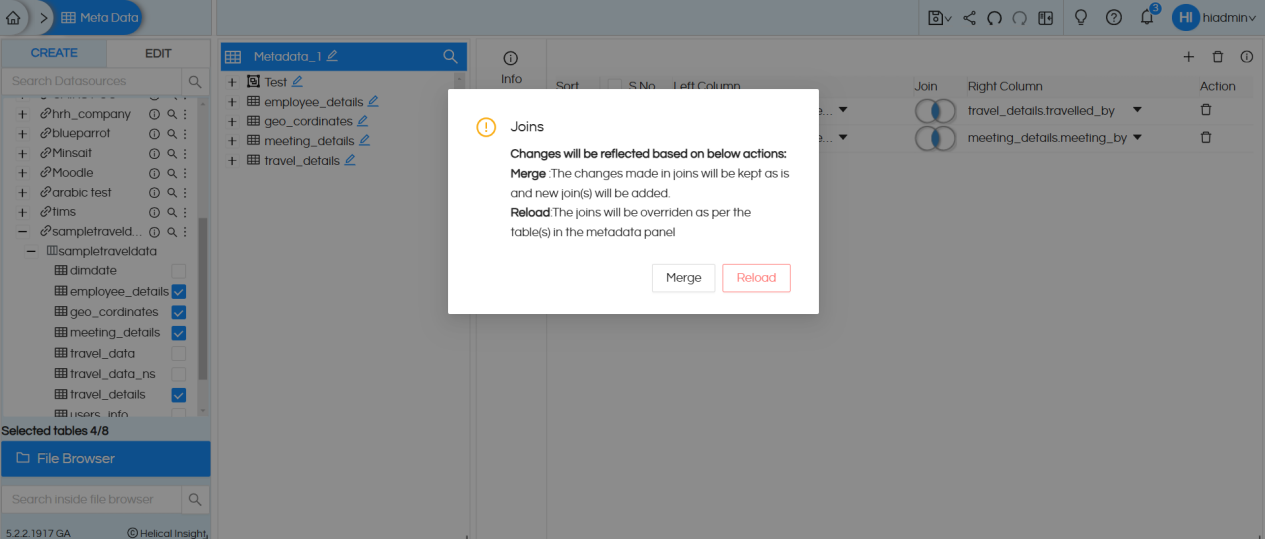
After adding new tables, on clicking on Joins, there is again a prompt to select Merge or Reload.
Merge will add the new joins to the list of existing joins in the Metadata.
Reload will delete the original joins and load the new joins according to the tables that are part of the Metadata.
For more information you can email on support@helicalinsight.com
