Following are the steps to install a Helical Insight Binary on a non GUI based machines like Linux Machine for Helical Insight version 5.0 onwards. Please have atleast a 4 core machine and 8 GB RAM.
Prerequisites :
Google Chrome browser. If you don’t have Google Chrome browser get it set up. Based on different flavor of Linux instruction may differ please refer to instructions for your operating system and act accordingly. The following are instruction for Ubuntu:
Hence, download chrome:
wget https://dl.google.com/linux/direct/google-chrome-stable_current_amd64.deb
and then install using:
sudo apt install -y ./google-chrome-stable_current_amd64.deb
- Java version 25 (for Helical Insight version 6.1 GA onwards). For older versions Java version 21 OR Java version 11 is required based on Helical Insight version you choose for installation.
- The user should have root permission (sudo su)
- No Tomcat service should be already running on the server. If it is already running please stop it. Helical Insight installer is having Apache Tomcat, by default, present as part of the installer.
- We recommend RAM should be minimum of 4 GB. Actual hardware requirements depend on number of factors like the number of users, data size etc.
Step 1: Download HelicalInsight installer file using below command by registering on the website.
Step 2: You have to check what is the current java version running by using the command:
java –version
Step 3: If java 25 is not present, then install it by referring : https://www.helicalinsight.com/configure-java_homejre_home-environment-variables-linux/
Step 4: You must download HelicalInsight.jar file by registering on the website. Once you download, now upload this on your linux server using SFTP etc methods.
Where ever this above file you have uploaded on linux server, go to that location and run this below command from that location (run this below command as administrator):
java -jar Helicalinsight.jar
helicalinsight.jar: this is the downloaded file name. Please note that the file name (i.e. helicalinsight.jar) might change based on the version and upgrade that you have downloaded. Accordingly you can make the required changes at your end while installing.
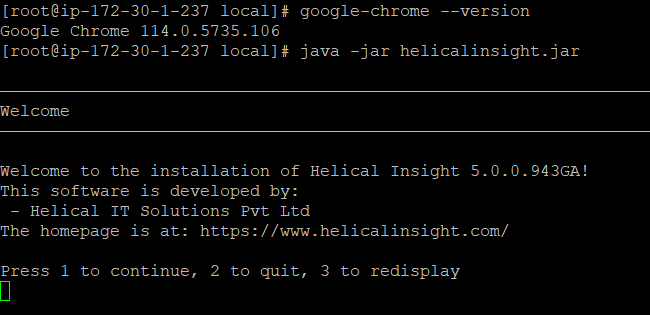
Step 5: After successful extraction, a welcome screen will appear. Press 1 to continue. You can read the license agreement.
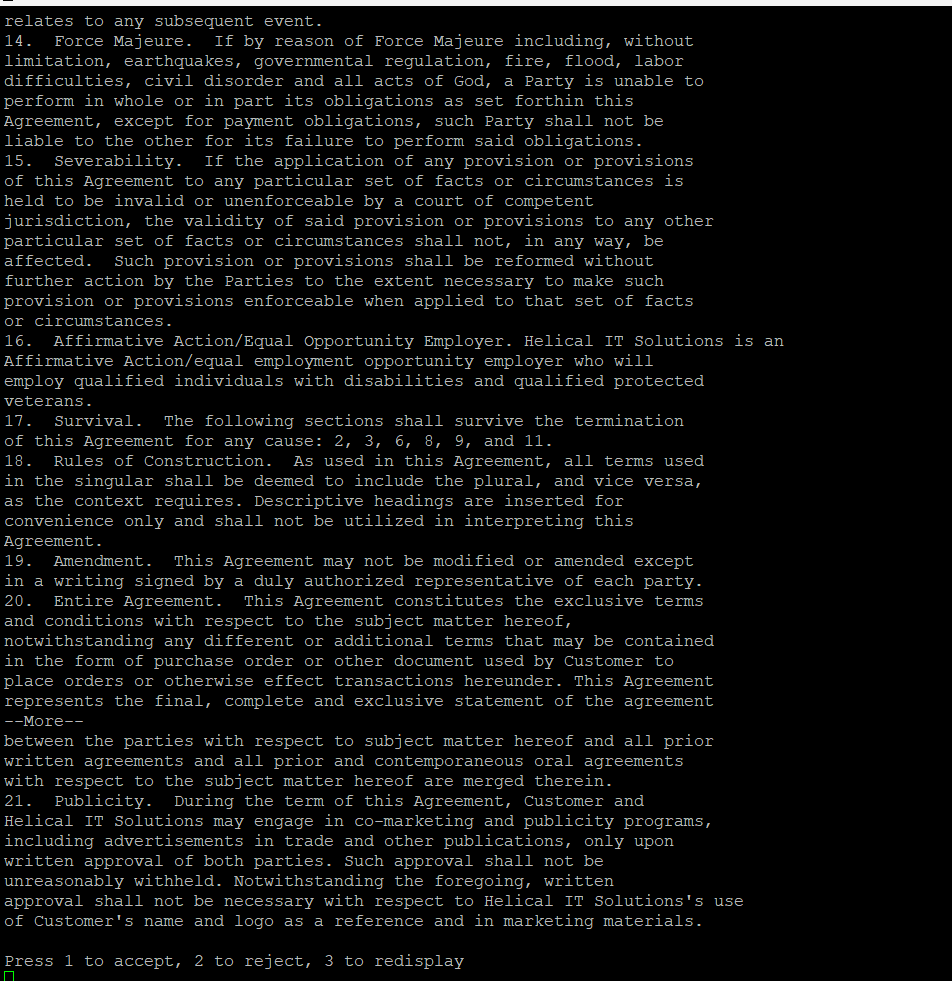
Step 6: The agreement. Press 1 to accept.
Step 7: You will be prompted to select the installation path. This is where the hi folder will be created. Input the path where you want to install the application. By default it will take the path “/usr/local/Helical Insight”
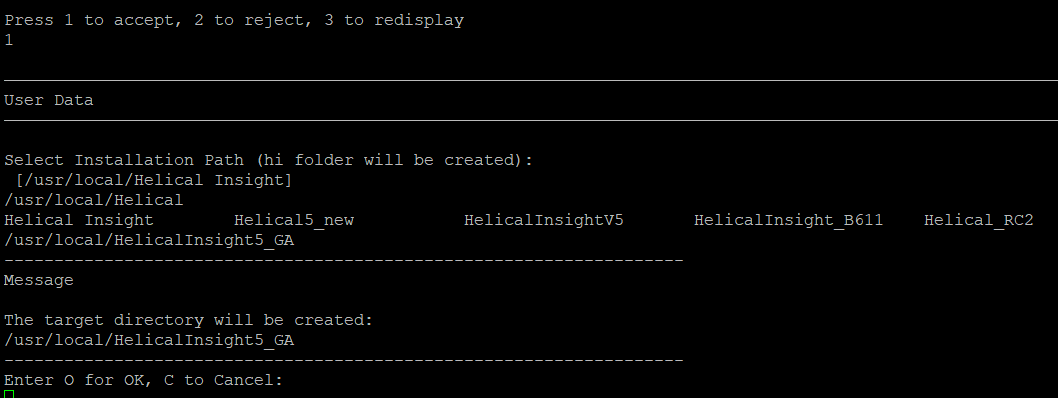
If we do not want to change the path we can press enter, if we want to change we should provide our own path. In this above example image, the folder will be created in path “/user/local/HelicalInsight5_GA”. Press 1 to continue.
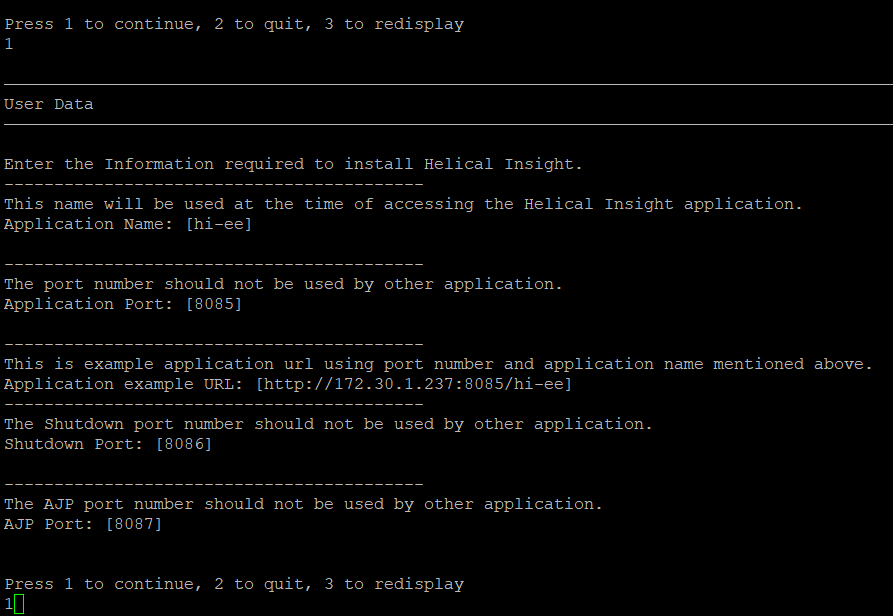
Step 8: You will be prompted to enter the application applicationname by which you want to access Helical Insight application. By default this name will be “hi-ee”.
Step 9: You will be prompted to enter the application port number. By default this port is set to 8085. (we can change if required)
Step 10: Press 1 to continue. The installation progress will be shown.
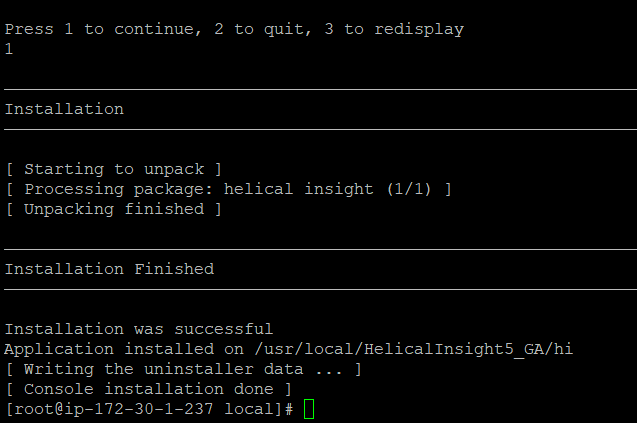
The application has been installed successfully.
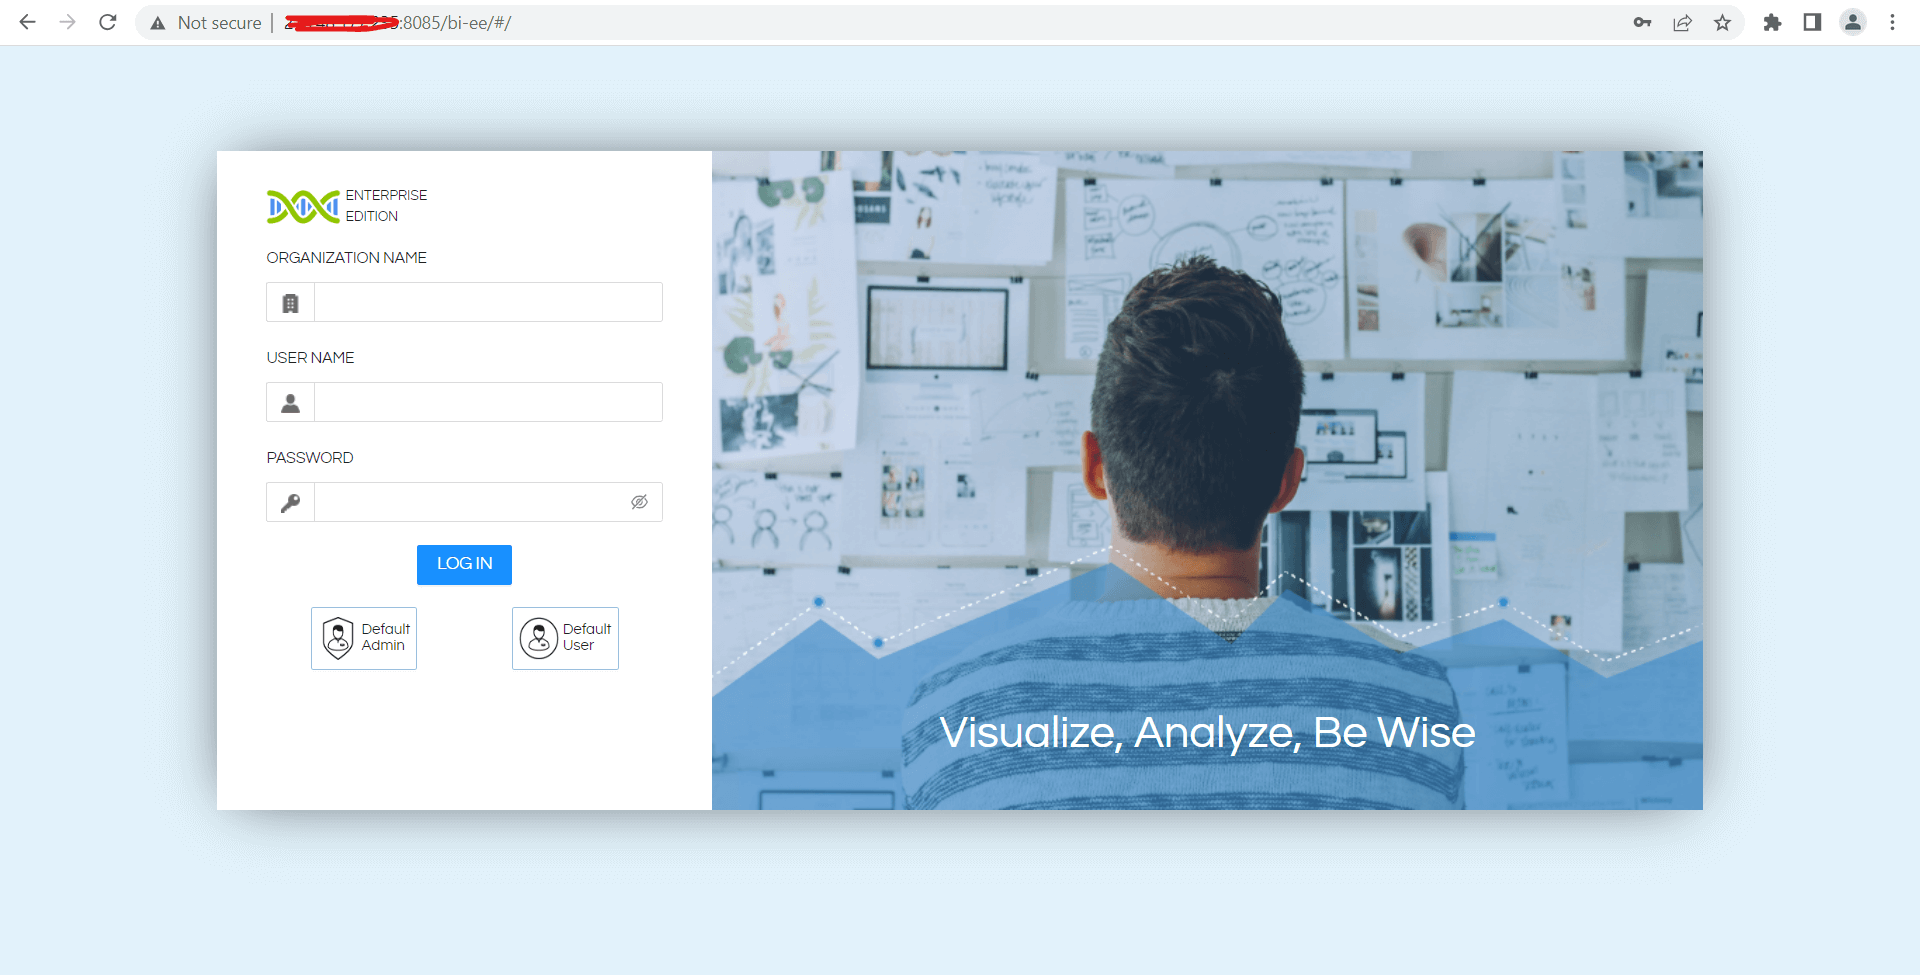
You can access the application with below URL:
http://localhost:8085/hi-ee or http://PUBLIC IP:8085/hi-ee
https://forum.helicalinsight.com/t/how-to-increase-jvm-memory-in-helical-insight-application/521
Try to give minimum 2GB and maximum 6GB to get optimal performance. Actual production server hardware requirements will depend on the number of concurrent users and the actual data size.
For more info, contact us at support@helicalinsight.com
